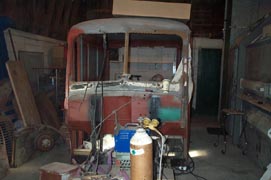
Heres my 300C stripped down. The frame has been sand blasted, painted with corroless, primered and top coated with Eastwoods Chassis Black.
The frame was in bad shape. I had to replace the cross piece under the transmission and add reinforcements to the rails.
The roof was rusted through on top and most of the way all along the drip rail, so I replaced that metal.
I bought two books on metal working.
They are : Sheet Metal Handbook by Ron & Sue Fournier and Sheet Metal Fabrication by Timothy Remus. They were invaluable and I would recommend them to anyone.
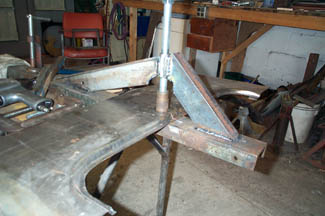
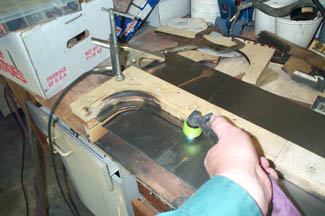
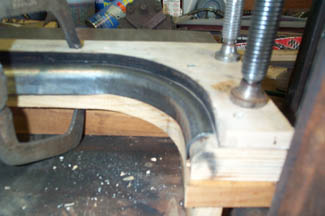
A hammerform is a wooden ( or other hard material) die that you create of the part you want to make. Clamp the sheet metal over the hammerform and "hammer" the sheet metal into submission. If done properly, it comes out perfectly smooth.
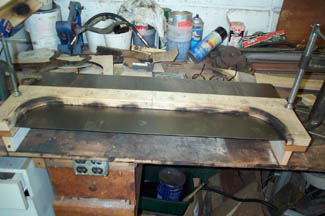
This hammerform is 1/2" hard plywood. I used a 1/2" rounding router bit to create the bend where the surface bends into the window channel.
The rust was severe. This truck sat on the ground for many years. I am replacing the windshield window frame. Of course I just walked into my local DIVCO parts dealer and ordered new sheet metal, right?
Here's where a plasma cutter come in handy. They cut most accurately if used properly. As you see here I cut away the rusted skin and sand blasted everything else.
To replace this panel I used heavy construction paper and made a hammerform template. Then used a technique called hammerforming to create the bends.
My 300C stripped down
sitting on milk crates
Hammerform for window frame
This page was last updated on: January 5, 2016
Check out my 300C Resto Page #2 where I welded in these hammerform panels.
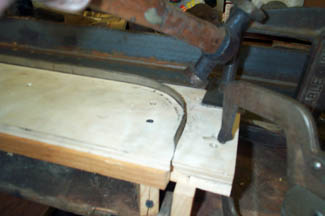
1.) shows the sheet metal clamped in the hammerform before I cut it for the window opening.
2.) Cutting out the window.
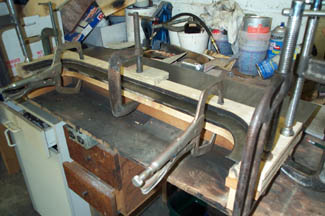
3.) Clamping the mold into place & ready for hammering.
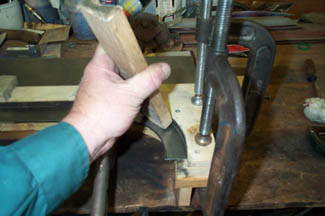
4.) I use a medium weight hammer & a block of oak. Working from side to side and slowly bending the metal down.
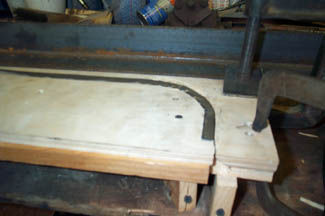
5.) Half way done.
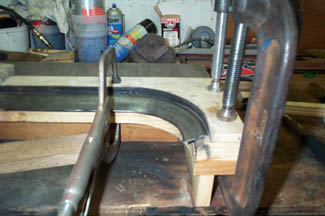
6.) Done the curve.
7.) Turn the form over to next form the window molding lip.
8.) Complete.
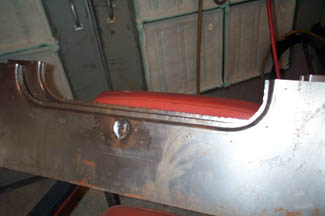
9.) This is a press I created to form the "dimple" under the window that looks like a wiper location.