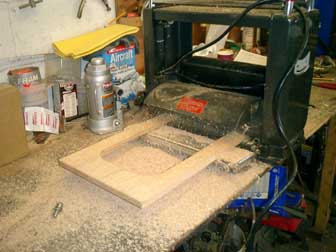
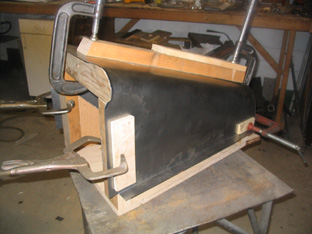
This is the form made from oak. After I cut out the hole & routed a 1/2" bevel on the inside I ran the board through the planer to reduce it to 1/2" thickness.
Notice the pins in the center of the window. They will keep the press on center. I also used roll pins to hold the wood form in place.
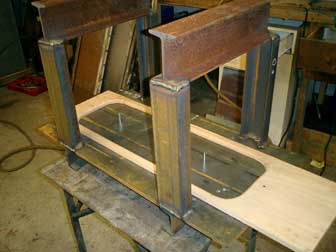
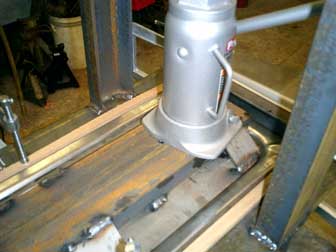
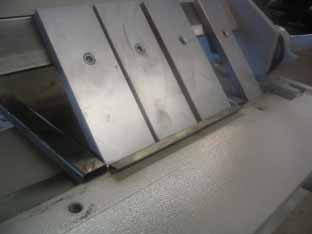
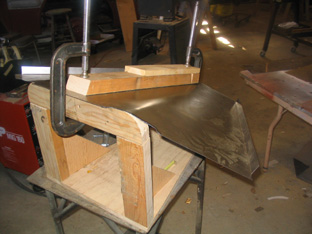
This is a test piece of metal and the pressing plate sitting in position.
I used a pair of 12,000 lb jacks. As it turned out I probably could have used only one jack.
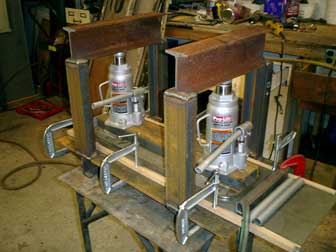
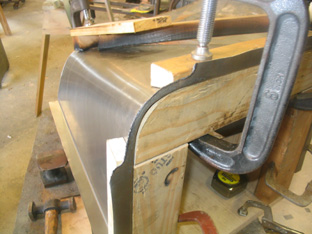
The clamps are holding the sides so they don't buckle inward. I ended up using a lot more clamps than pictured here.
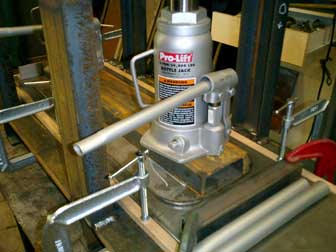
Here it is half way pressed in.
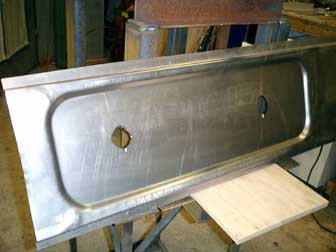
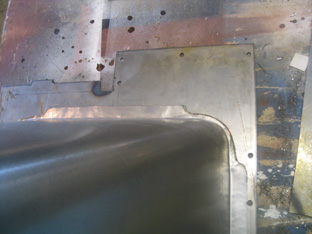
Finished test piece. ( the holes are for the centering pins). Notice the buckling in the corners. This tells me to get a better clamping system for the next test. When I apply the pressure, the metal should be stretching from the center & not the outside.
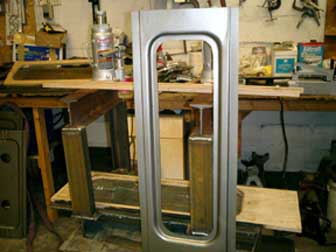
Making new Doors: The biggest challenge is to form the inner panel where the window opening bends into the rubber molding. I made this press to form that piece. The bottom plate is 1/4" steel plate reinforced with 4" channel iron. The uprights are 4" channel & the beams are 6".
This page was last updated on: January 5, 2016
Ok, I've decided to make new doors, Here's how it's going......
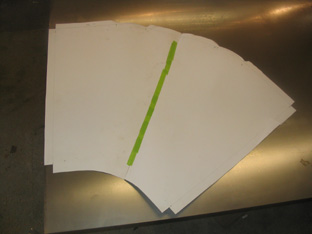
This is my 4th test piece. #2 buckled in a different place than #1, & #3 I wasted by cutting it incorrectly. This piece turned out perfect. I am really pleased. I corrected the stretching problem by cutting out the window ( a little bit undersized), and using more clamps.
The next step is to get the sheet metal to make the doors. I have an 8' metal brake already. I found the hinges on the web & I have the correct rivets. I also have to make the trim strip that goes between the doors on the outside. That should be interesting.
Here's my new 4' Box & Pan Brake. I'm bending the ends of the inside door piece.
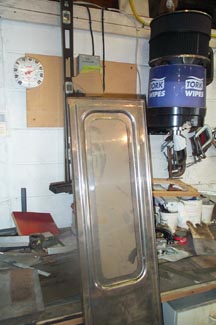
Wow! Here's the two pieces to my first door. Once I put them together I can then cut out the window opening to the correct size.
Odctober 18,2003: Each door is actually a bi-fold door 24" X 72". The rear half is 12" wide and the forward half is 11-5/8". They are connected with a piano hinge & another piano hinge attaches the door to the door post.
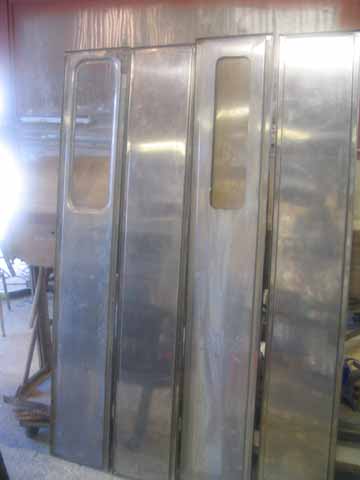
October 18, 2003: Finally found the time to get to the shop. Here's the four door panels cut out & bent. The panel on the left is completed. The others need the window pressed & cut out.
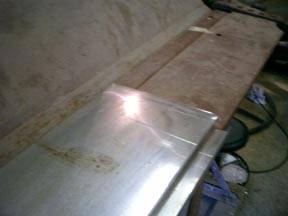
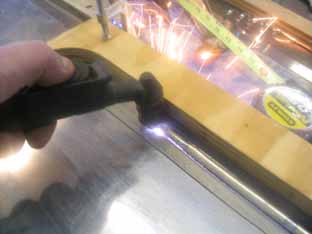
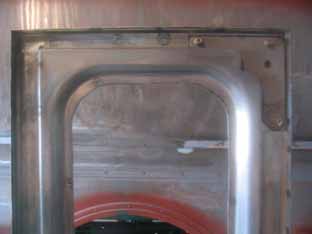
Using the Plasma Cutter, this is cutting out the window opening after spot welding the two shells together.
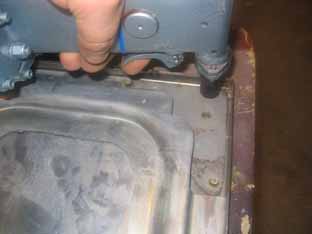
Why is it that the neatest tools (Toys) you have get used the least? I love to use this riveter. Here I'm riviting the door opener support plate in place. These are the same fasteners used by the factory, it looks great.
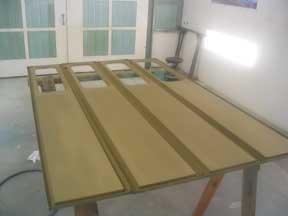
Doors all welded & cut-out. All they need now are the hinges & trim strip spot welded on. Here I put a coat of self etching primer on them.
This is the completed 12" door panel. I do need more practice with the new spot welder, it seems I'm burning holes.
New transmission tunnel: December 20,2003
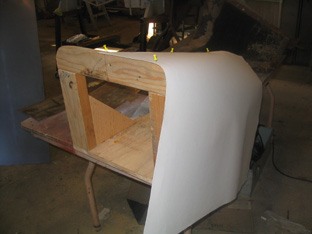
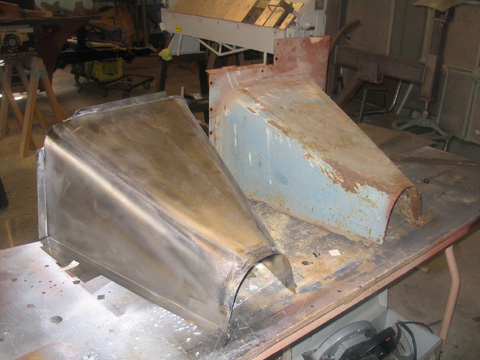
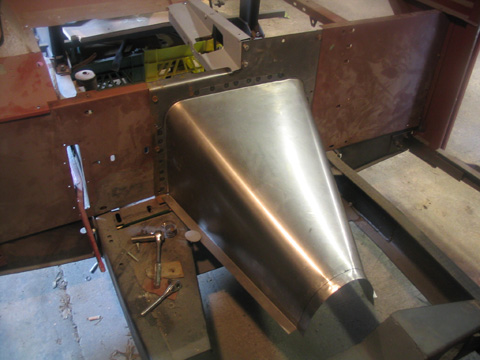
New transmission tunnel: The original one is rusted, dented and pitted beyond repair. I made a buck out of 2X4's & plywood from measurements of the old tunnel. Then using heavy construction paper I create a pattern of the sheetmetal by pinning the paper to the buck & marking and trimming it.
After cutting out the sheet metal ( I used 20ga.) I clamp the metal to the buck and slowly press the sides down by hand. They roll down real easy. I clamped the lower part in place and then used a torch to apply heat where metal bends. When it cools it will hold it's shape.
The buck doubled as a hammerform. The tunnel has flanges that will weld up to the firewall plate. Left picture shows the flange as I hammered it flat. Right picture shows the tunnel butted to the firewall plate.