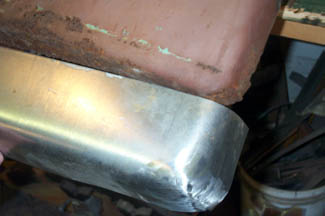
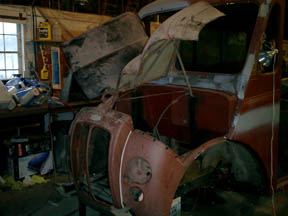
The bottom of the grille is rusted through. I need to replace it.
I used the same technique "hammerforming" that I used to replace the windshield frame.
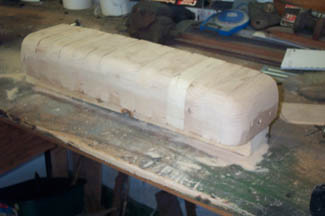
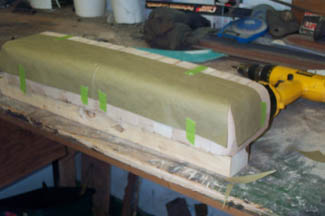
First I create an exact mold or form of the piece of metal I want to create. I used short pieces of a 2x4 here. Then use construction paper to make a template. I folded and cut the paper so that it will lay exactly as the metal will.
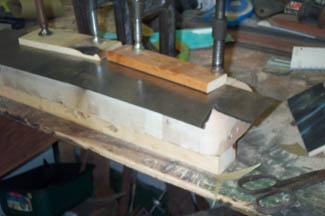
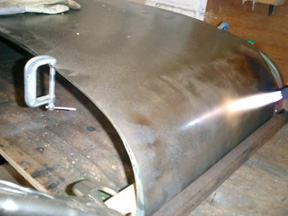
Clamp the sheet metal to the hammerform & starting at the top and working your way down the sides, hammer it into submission. Weld the corners and a little grinding and it's done.
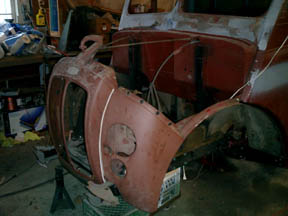
<--Rust!
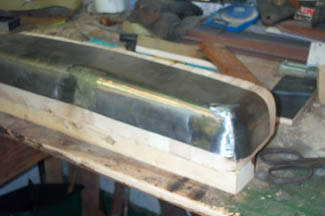
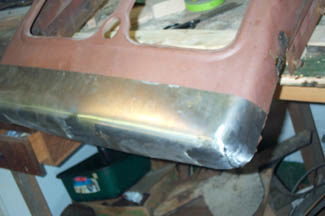
The pictures above show the finished piece. All that's left is cuttting out the old and welding in the new.
For a description of Hammerforming, go to page.
Ready for welding.
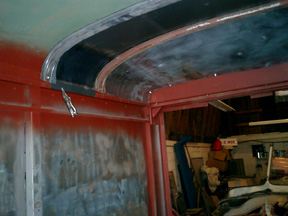
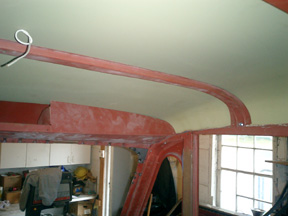
Installing the new ceiling: I used 22ga. sheet metal. After cutting each piece to size using the old rusted pieces as templates, I clamped them to the ceiling ribs on the workbench and heated them where they curve into the side. Heating the bent metal takes the stress out and after it cools it will hold the shape. This made for a perfect fit.
Because of the color scheme I'm using, I have to paint the truck while its all apart. So I want to be sure that all the pieces fit together properly and are aligned before I paint them. I don't want to be making adjustments and scratching and scraping the new paint.
This page covers work after 2/1/03
Fitting the pieces together:
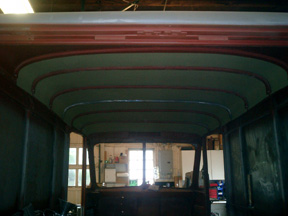
4/26 Finished installing the ceiling. This was a lot easier than I anticipated. I had to do some minor trimming of the pieces for them to fit. I used 3-1/2in insulation between the ceiling and roof which made for a firm, rattle free job. The light green color is a self etching primer I painted on both sides. I am almost ready for interior paint!
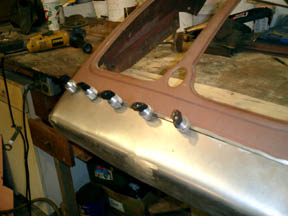
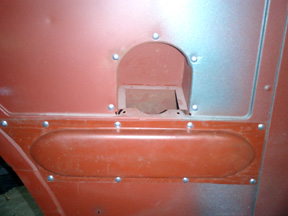
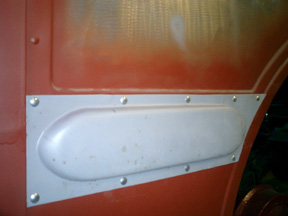
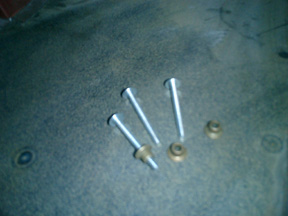
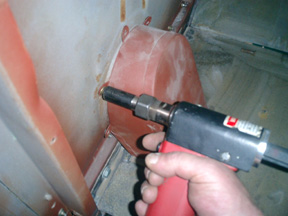
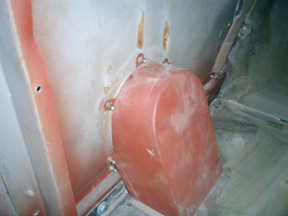
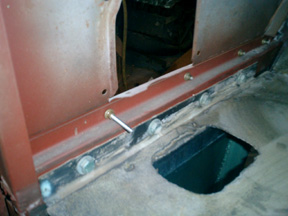
April 30th: I finally tracked down the correct rivits used by DIVCO. Actually they don't call them rivits, they are fasteners, "pins and collars". They are installed using a Huck pneudraulic tool. This was an expensive procedure. I bought 100 pins and collars for $38.00 and rented the tool for a week for $300.00. (to buy the tool costs $1,300) I only needed about 55 rivits so doing the math, each rivit cost me about $6.00. It was worth it. The job turned out perfect.
Looks like a factory job to me. The fasteners are made by Huck. The pins are MGP98T-R6-10G and the collars are MGCS-R6U.