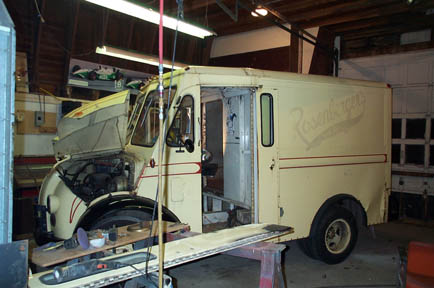
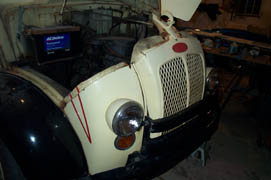
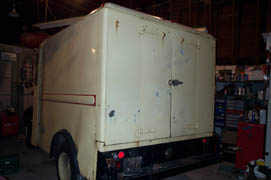
Here it is in all it's glory sitting in the shop. 306F-0331 manufactured in 1977. Notice the crease in the rear side panel. The door in the foreground is from the passenger side. It's getting a patch on the lower portion. I suppose you can see where this truck came from.
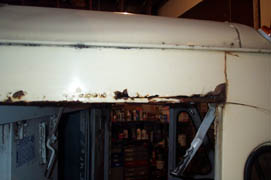
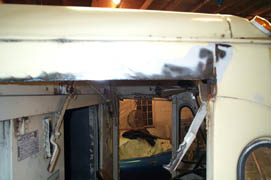
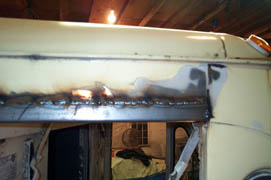
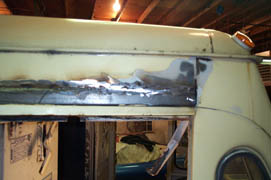
This is the panel over the passenger's door. I noticed a small rust spot and decided to sand blast it. Thank goodness I did. The rust was extensive, running along the entire top of the door frame. Aparently a leak had developed on the roof drip rail and water accumulated in this panel. Picture #1 shows the extend of the rust. I removed the door guide and cut out the lower two inches and bottom plate of the panel. Picture #2 is after cutting. I made the replacement from 18 gauge steel and welded it in place, Picture #3, and then treated it with a rust inhibitor. Next was grinding the weld, re-drilling the screw holes and installing the door guide. Oh, I used stainless steel screws. ( I do not want rust coming back. )
1
2
3
4
2/5/02: Replaced that rear lower panel. Came out nice. The next step is to do the walk around and grind out those small rust spots. Also some running light circuits are dead.
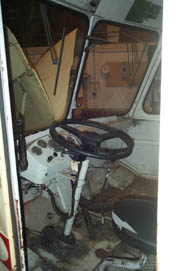
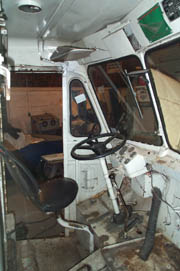
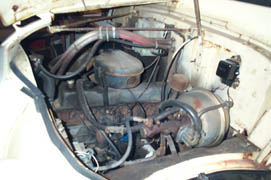
Look at the seat post. It is a sit/stand seat & post. I looked underneath and there is a stand drive clutch/brake pedal attached. But is has been cut short so it does not stick into the driver compartment. There is no gas linkage for the stand drive. I wonder, why would that pedal be there? I'll check my other two 306F's & see if they have the same thing. Although they do have the sit drive seat.
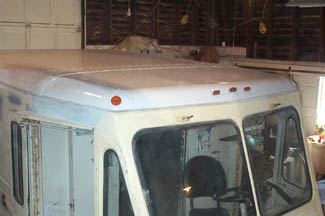
2/28/02: This truck is taller than the spray booth!
So I had to paint the roof in the shop. Here it is all done. I've got to lower the truck about four inches to get it in the booth for the rest of the painting.
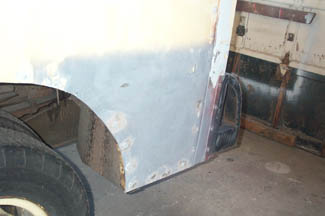
Repaired rear panel. I cut out the lower 16 inches and welded in a new 20ga. panel.
Well, here it is, inside the booth. As it turns out I had to lower it 3.5". So I just let most of the air out of the tires and drove it right in.
March 14th:
To see the prep & painting progress, go to my Spray Booth Page
March 15th:
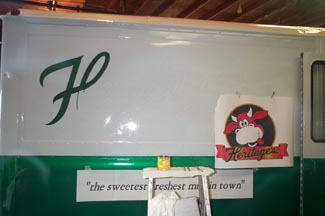
This is a full size drawing of the logo for the side of the truck. ( hung in my office ) The lettering is about 60" long. I plan to hand paint it on the truck.
Finally, time to dress up the truck with our logo. This picture shows starting to paint. The paper taped on the truck is for reference to determine what & where I want to place things.
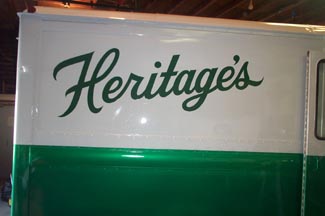
March 26th: Lettering the truck:
This is our "cow", the "Happy Cow". When I painted the truck I also painted a piece of sheet metal to use to experiment and practice lettering. This is a picture of our cow I painted on the test panel. It's about 18 inches tall.
It's getting there...........
January 31st, 2002
Note: This page has the most recent photos on top. saves loading pictures you may already have seen.